- Navigate to Dashboard
- Hover Commissions category (right column)
- Select “Add New”
- Type in the Title of the new ministry page where it says “Add Title”
- Please Note: The Title of the Commission will also be the URL of the page. For instance: LGBTQ Commission . The URL will be: general commission page
- Copy and Paste or input content in Copy Box. Please note: Visual Tab should be selected when inputting content (Text tab is for HTML coding). Images can be added in the body of the copy by selecting the “Add Media” icon.
- To add a featured image to display for the Commission on the general commission page: select “Set Featured Image” and select or upload the image.
- While in edit mode, scroll down to Page Widgets section
- ‘Select’ and ‘drag’ Text Widget into Ministry Sidebar. This will create the ability to create a widget to insert resource documents and links.
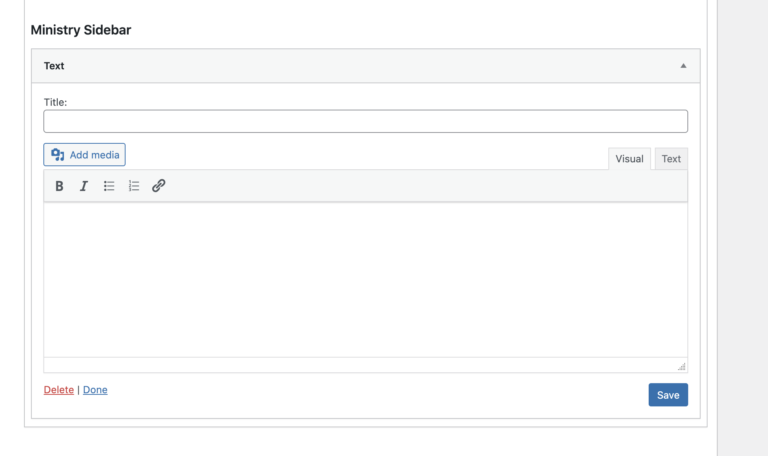
- Type in the Title of this section. Example: Title: Resources
- In the copy box below, Type the resource names and document names and then select the “paperclick” icon to insert the links associated with the resource names and documents.
- For best practices, we recommend uploading your images and documents first to generate links. To learn how to upload media files, click here.
- Click SAVE once your content box is complete and then “done”.’
- Scroll to the top right and select “Save Draft”
- Once saved, select “Preview” to review your page prior to publishing
- Ministry page will open in new tab for viewing
- Once you are ready to publish, navigate to the Ministry page you are editing and select “Publish”


")
